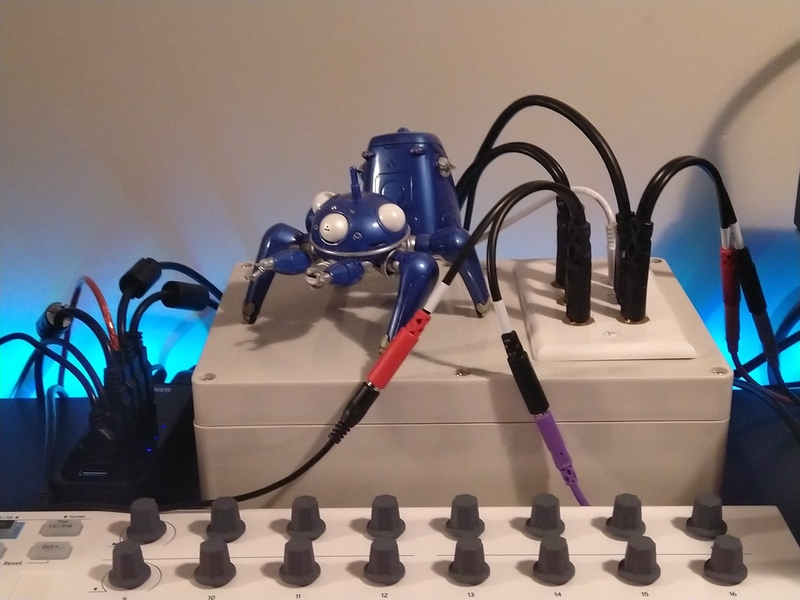
Say hello to my little friend!
This is the latest version of my MODEP and Raspberry Pi based music brain, which is:
- a MIDI routing solution!
- a multi-input effects unit!
- a synthesizer!
- a mixer!
Best of all, it’s powered by free software!
It sports 3 stereo inputs (which is one more than the Mod Duo X) and has one stereo output (it can support up to 4 if I wished).
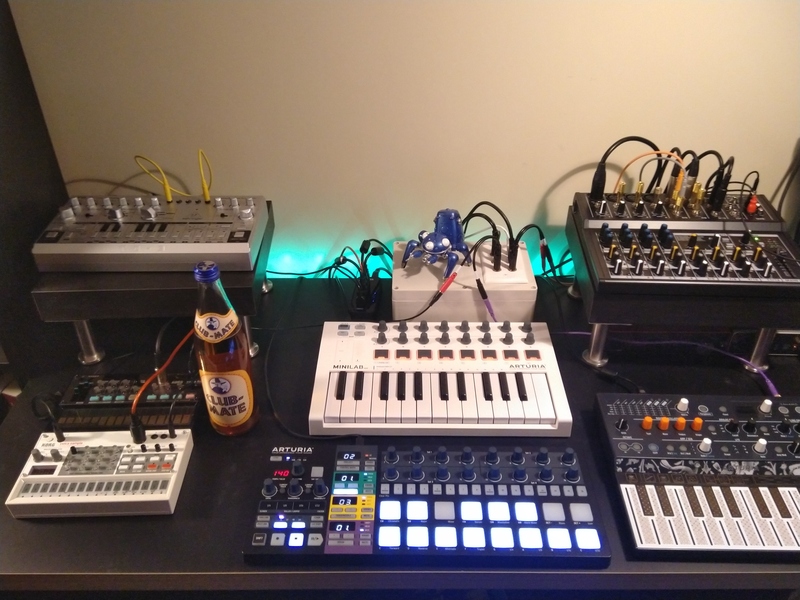
Here it is in my current setup. Using a USB hub, I’m able to sequence a TD-3, a Volca FM, a Volca Sample, and a Arturia Microfreak, and process all of their outputs with various audio effects.
Would you like to build your own? Let’s get started!
Bill of Materials
Hardware
- A Raspberry Pi 4
- A supported power supply for the Raspi 4
- A 32gb MicroSD Card
- An Audio Injector Octo DAC (That’s how I managed all of those inputs!)
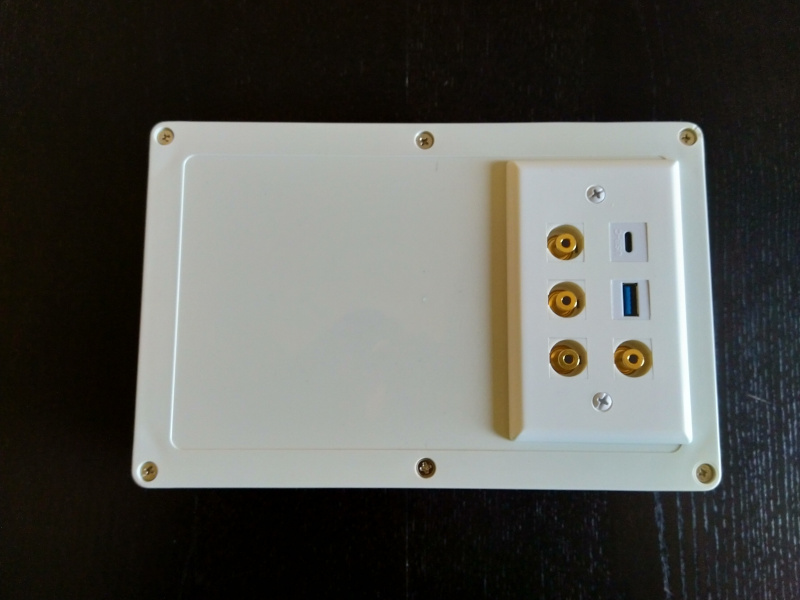
Case
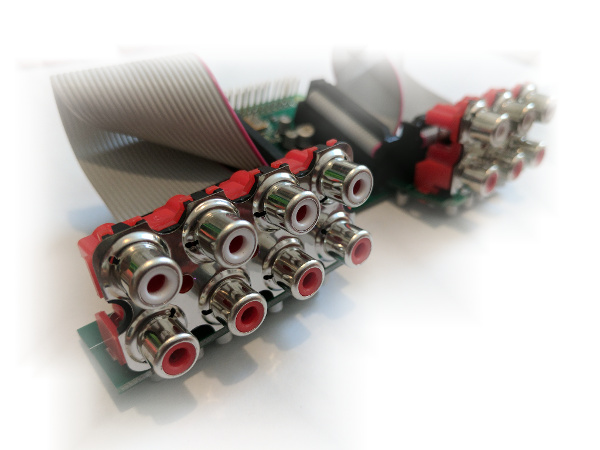
This is how we get all of the above components together to make something durable and easy to use. The OCTO’s inputs and outputs look like this, so you can see how difficult it can be to use the RCA ports directly, and I’m afraid of harming the PCB/ribbon cables over time with continuous use:
I haven’t learned how to fabricate or 3d print cases yet, so we’re going to use something prebuilt- keystone plates and inserts! They are usually used for AV/networking connections in your home, but we’re going to repurpose them to make this build really easy!
- 1 project box
- 1 6 port keystone wall plate
- 4 TRS jack keystone inserts (link is a 5-pack)
- 1 USB-C keystone insert, for power
- 1 USB 3.0 keystone insert for USB/MIDI connectivity to your synths/drum machines
- 4 RCA to 3.5mm Y cables (note: that listing is for a 2-pack)
Optional
I also got these:
- A powered USB hub (this allows you to expand to MANY devices)
- A USB to MIDI DIN adapter (some of your equipment won’t support USB)
- TRS-to-TS breakout cables, as several of my synths are mono out.
Tools
Cutting ABS plastic isn’t easy. I used a drill and a craft knife, but if you have actual tools (like in this article), that would be best. Always follow safety precautions!
Instructions
Installing the Keystone Wall Plate Into The Case
-
Take your keystone wall plate and use it as a stencil- position it on top of the case lid where you want it to ultimately be installed. Use a marker to mark where the keystone holes will be and where the screw holes will be. With a straightedge, draw a rectangle around the keystone holes, taking care to keep the screw hole marks outside of the rectangle.
-
Cut out the rectangle. Depending on the tools you have, this will be time consuming. I drilled holes along the rectangle to make the cutting process easier using the craft knife. Again, always follow safety precautions.
-
Drill through the screw hole marks. Make sure you use a drill bit that is slightly thinner than the screws that came with the keystone wall plate.
-
Install the keystone wall plate and screw it into place. The drill is useful here using a Phillips bit- but don’t overtighten!
Putting It Together
-
Install the keystone inserts by inserting them into the back of the wall plate. Make sure you’ve got them oriented in the right direction! For my build, the left 3 ports were used for the inputs, the right three ports were used for the output, power, and USB.
-
Plug everything in: The USB-C plug for power, the USB 3.0 plug for data, and the 4 RCA Y cables for ins and outs. Don’t put it in the case yet!
-
Assuming you already set up MODEP and the OCTO driver on the Raspi, power up the Pi by plugging the power adapter into the USB C port. Try all of the stereo ins and outs using the MODEP UI to make sure you’ve plugged them in the right order. NOTE: The OCTO uses a different driver.
-
If all is working, install all the components into the case and screw the case shut. You may have to fiddle a little bit with the cables to get everything to fit.
-
You’re done! Congrats! :-)
Conclusions
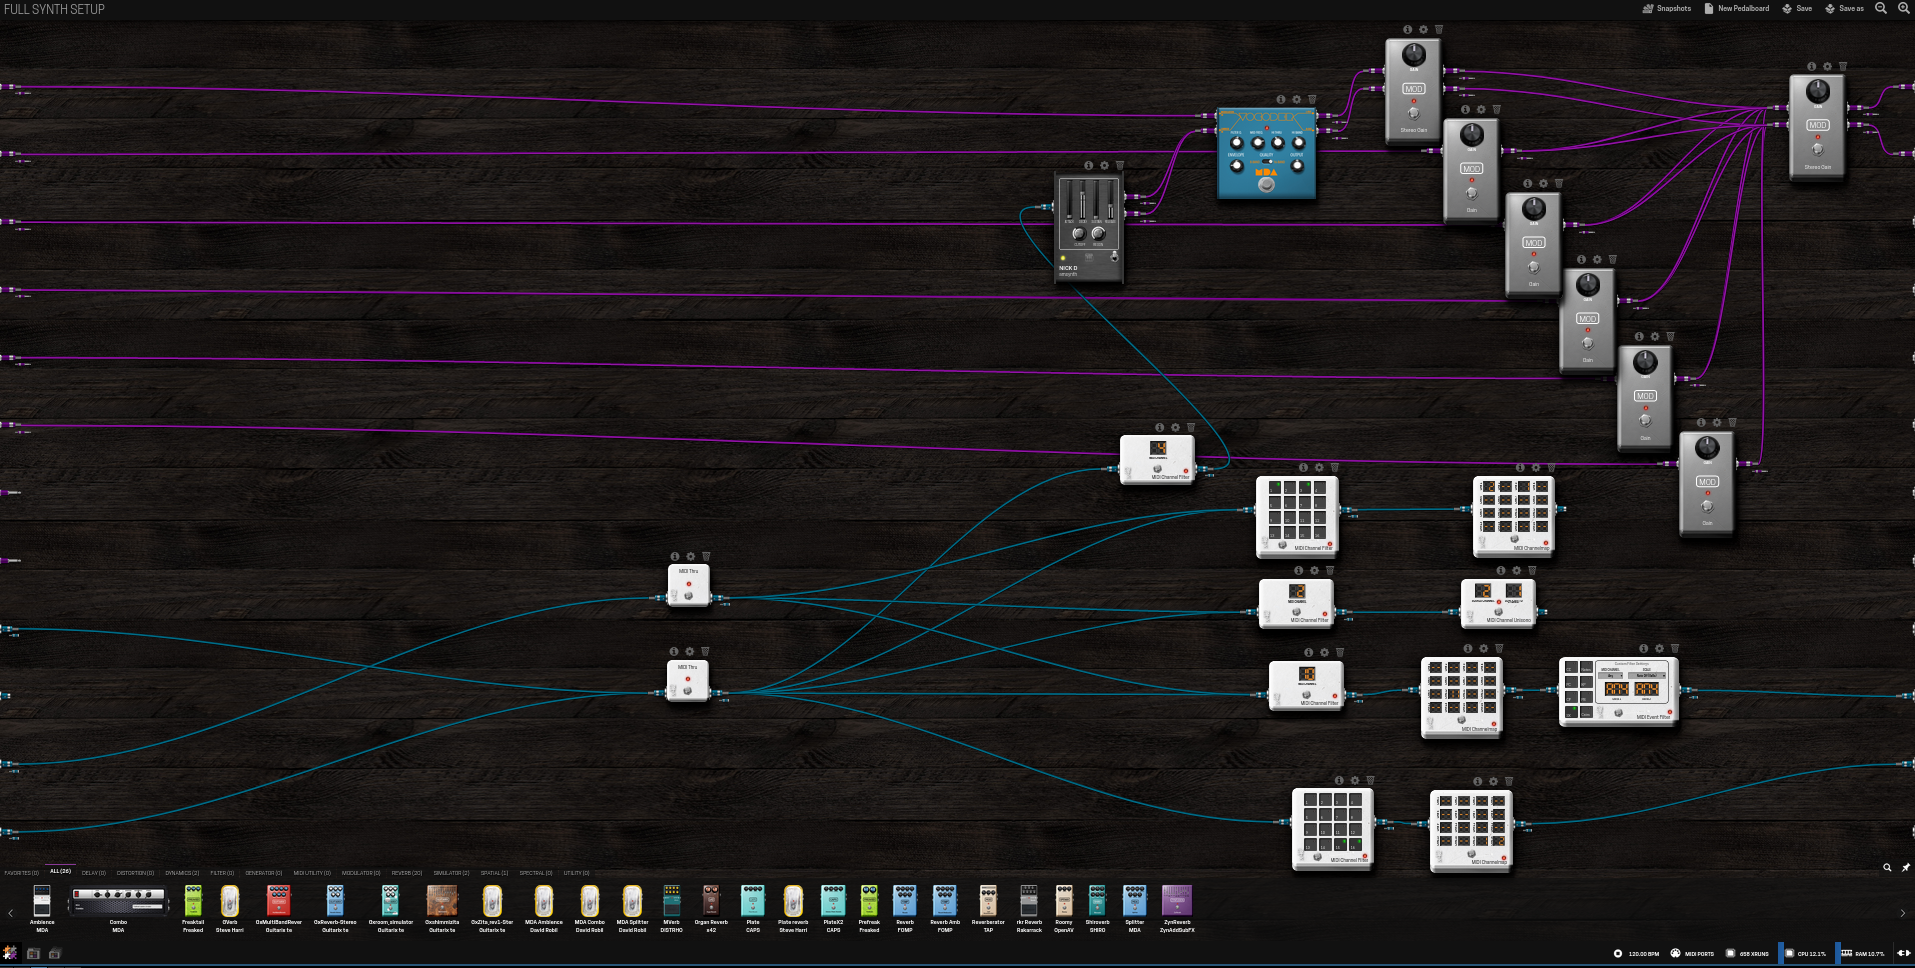
This has been a pretty rewarding project- I now have something to base my ‘dawless’ setup around that can handle everything I need for live performances. Here’s my very-involved MODEP patch that ties it all together:
That said, I already have some ideas for improvements to this project:
- Mount the Raspi into the case. While all the cables keep it positioned rather snugly, we can do better.
- Using longer 26-pin ribbon cable to connect the OCTO hat to the RCA breakouts would make it easier to mount the Raspi.
- Implement some form of ventilation or heatsink for the Raspi CPU. I haven’t experienced any temp-based throttling yet.
- Using 90-degree 3.5mm male-to-female jacks would ensure that the RCA Y cables have more room to plug into the stereo jack keystone inserts- right now they press into the bottom of the case slightly which puts strain on the 3.5mm plugs.
- If I can find or 3D-print a keystone patch plate, I can then put the connections on the back of the case, rather than the top. That frees up the top for some interesting purposes, like a touchscreen or potentiometers!
- Using more than 6 ports would enable me to offer extra connectivity like additional stereo outs, USB, or MIDI via 3.5mm TRS!
Acknowledgements
I want to do a shoutout to:
- MOD Devices. If you want a professional-quality solution, go right to the source and buy one of their products!
- Blokas Labs, who ported the MOD software to the Raspberry PI. They offer their own products as well!
- Audio Injector, who designed and manufactured a 6-input, 8-output DAC for the Raspberry PI!
Happy hacking!